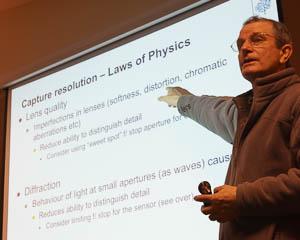
Tonight, we were treated to a visit by Roger Crocombe ARPS, who is the current Chairman of Bognor CC. He gave us a very in depth and very interesting talk on the basics of understanding the requirements for taking properly exposed and sharply focused images with a DSLR camera.
Roger started with getting sharp images. We all know about looking at the picture on the back of the camera and thinking ‘that’s fine’ only to find when downloaded to our computers that when ‘blown up’ the picture is far from sharp. That image on the back of course is a JPEG and not the same as the actual image if taken in RAW.
When we are about to take an image, we have three things to consider. Do we need to use Av to control the depth of field: do we need to freeze the subject if it is moving, in which case we probably need to use Tv to control the shutter speed; or do we need to alter the ISO (using 100 gives us the very best quality image, and all Professionals strive to use this as much as possible) to give us the optimum quality with the available light. The higher the ISO the more likely chance of ‘Noise’.
To really get a sharp image you need to be using a solid tripod, a cable release and the Mirror up using 'live view’ with a delay on your shutter. Note, live view uses a lot of battery power!
All this is fine if you are taking a landscape and you have lots of time. However, with wildlife shots, you are more than likely to have to compromise and do your best to get as close to these ideals as possible.
The notes to Roger’s talk are available to see, as advised by Chairman Chris in an e-mail after the event, so I will not expand on all that Roger said. If you were that interested you would have been there to hear it all first hand!
Roger explained ‘hyperfocal distances' and checking your depth of field using the preview button on the camera. The image you see in the viewfinder is through the lens at full aperture and to see what the picture will be like if you have used a much smaller aperture gives you a much darker view and is sometimes quite hard to see.
In the interval we were able to look at some of the really stunning pictures that Roger has taken, which were mainly landscapes.
The second half of the evening was about exposure. We need to get as much information from our exposure as possible and to do that we need ‘to expose to the right’. This is because by far the greatest area of information is in the light end as seen on the histogram of our image. We should ‘expose to the right and process for the shadows. If we 'over-expose' of course we lose all the information in those areas. On most cameras we are warned by flashing white in the parts involved on the screen on the back of the camera.
The message is: check your histogram all the time to see that you are exposing as required.
To get the very best light for our images we need to be up early or out later towards the time that the sun is going down.
Roger uses spot metering so he can select the area in his picture that it is most important to get the exposure right. He also uses Auto White Balance on his Canon camera as over 90% of the time it gets it right. He uses Lightroom as this is more up to date on any changes that camera manufacturers make to image files.
At times Roger was quite technical and Martin (our resident technocrat) was asking Roger questions which most of us at the back understood nothing either of the question or the answer, very amusing.
Thank you Roger for a very informative and captivating talk which we all enjoyed enormosly.